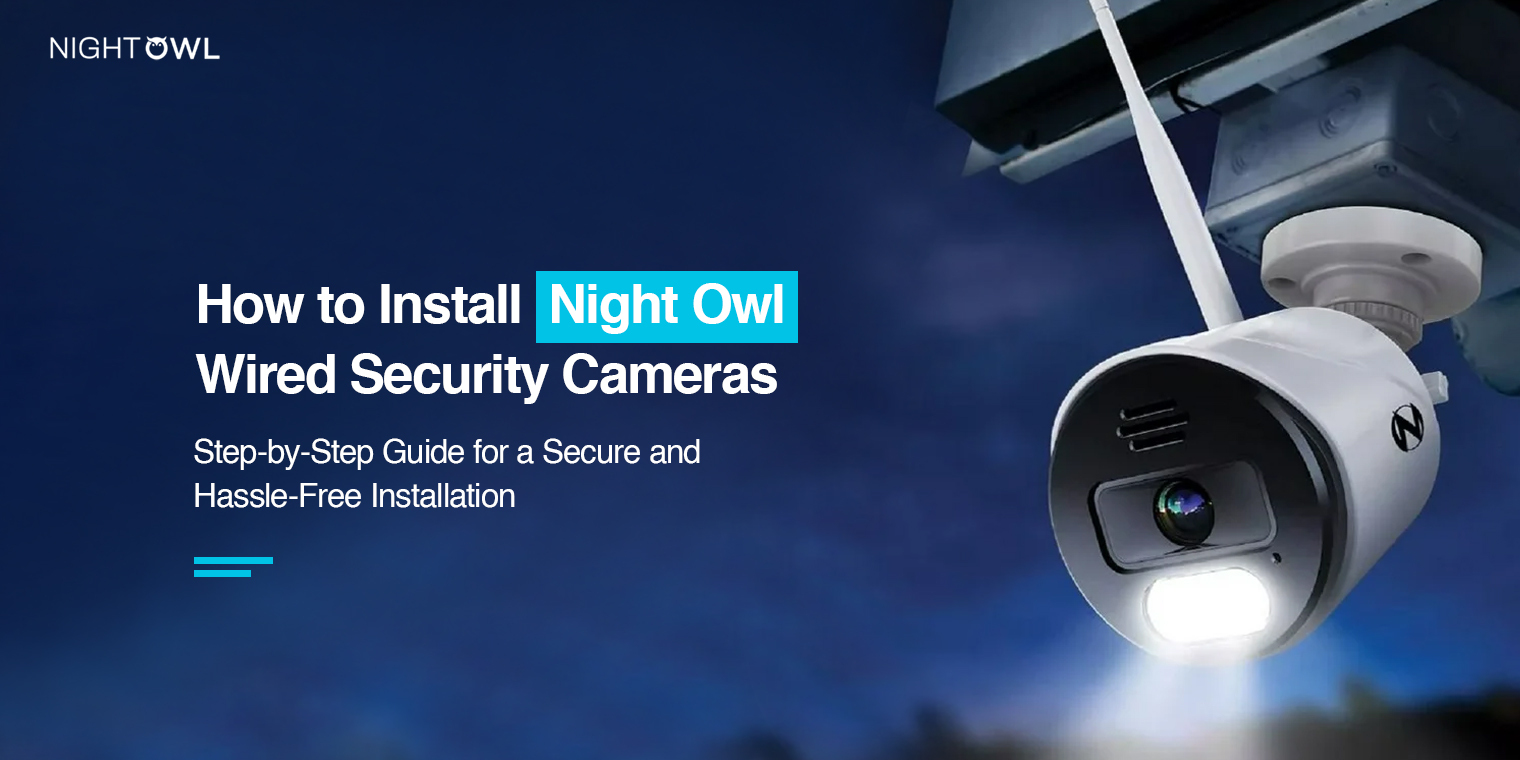
Nowadays, security cameras are the most necessary smart gadgets. They are required to keep an eye on your necessary property or other activities. Likewise, people choose the Night Owl camera for their security because this camera has multiple latest features. So, to experience the remarkable features users need to be aware of how to install Night Owl wired security cameras.
Additionally, we need to fit the security camera first, to test them later. After that, you can log into the admin account of the camera to configure the settings. With this, you can change the camera settings according to your preference. With camera access on your smartphone, you can check the live footage of the camera anytime. So, for this, let’s begin with the installation first:
How to install Night Owl wired security cameras?
Moreover, the Night Security Owl camera can easily be installed when you have all the necessary things required for the Night Owl camera installation.
Furthermore, make sure you have a Night Owl camera, USB cables, a mounting bracket, screwdrivers, an SD card, a smartphone, a stable network, etc. After that, let’s head to the camera installation:
- To begin with, choose the appropriate location for the camera.
- Next, mark the place with a market and drill the holes.
- Further, slide and remove the cover of the camera.
- Now, place the SD card in the given place.
- Then, put the cover back and check if the camera is fully charged.
- Next, detach the camera from the base station.
- Now, drill the holes in the marked palace and fit the base plate using the screws and anchors.
- Afterward, place the camera on the base plate by rotating it clockwise.
- Here, set the camera at the right angle for a wider view.
- Further, download the Night Owl Protect app on your smartphone.
- Next, power on your camera and open the app.
- After that, create a new admin account or use your registered email.
- Hereon, click on the + icon to add your camera to the app.
- Finally, follow the further instructions to end the procedure.
Unable to install the Night Owl camera? Read this!
If you are unable to complete the night owl camera installation, this happens due to some common issues. This includes power outages, unstable networks, improper camera location, etc. Further, fix the issues with the below-mentioned troubleshooting tips, So have a look!
- First and foremost, make sure that the camera is located at the right place, and away from the obstacles.
- Ensure the Night Owl camera is getting sufficient power supply and connected to the original power adapters and cables.
- Confirm that the mounted plate is fitted accurately and screws are tight enough.
- Set your camera at an accurate angle for better viewing and successful installation.
- Remove all the damaged and tangled wires and tighten up the loose connections.
- Use the latest version of the Night Owl Protect app and enable all the required permissions.
- Check that the camera is not in direct contact with sunlight to avoid overheating the device.
- Make sure you are following accurate steps to create a new account and access the app.
- Ensure the device is connected to a stable network otherwise, you can use ethernet cables for more stability.
- If you are facing any technical glitches or bugs, then power cycle the device once.
Wrapping Up
All in all, this guide will help you with how to install Night Owl wired security cameras effortlessly. If you want more information about the Night Owl security camera, drop us a line!
